Blocking inappropriate ads from running on a website is most effective if you collect accurate source data first. In the beginning, detect the advertiser and then select the source of the leak (if it’s not Google Ad Exchange itself, try changing the EBDA settings according to our guide).
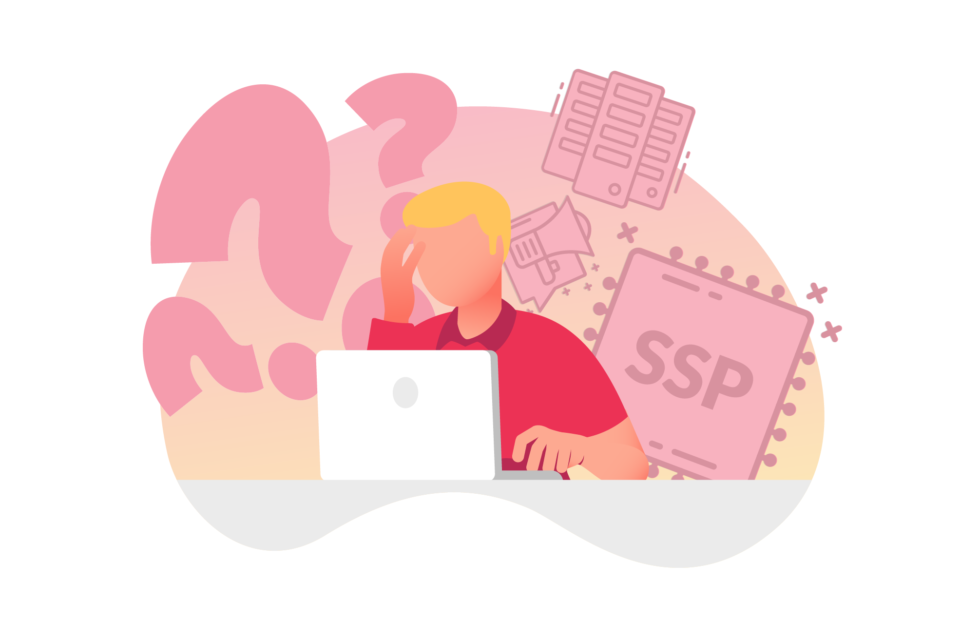
How To Block Inappropriate Ads?
Selling your inventory programmatically is lucrative, but in this model stopping inappropriate ads from showing up on the website can be a chore. Nevertheless, for many reasons (and especially in the era of brand safety), blocking specific creations or advertisers is inevitable.
Algorithms used by the shady advertisers’ tools are not idle, and increasingly often they actually find their way to sneak onto your site. However, this fight does not have to be lost. As we provide ongoing blocking support to more than 250 publishers, we want to share our good practices. Follow our well-trodden path and stop inappropriate ads on your site efficiently!
By the way: if you are a Google AdSense user, rest assured that you also can block particular ads in AdSense. However, since you are here, it means that programmatic monetization matters to you. Maybe it’s time to move to the next level?
How to detect an advertiser that emits intrusive ads?
Proven tip: If you are a yield manager or ad ops expert, share this manual with the editors, PR managers, content managers, supervisors – those who visit the website or are in touch with users.
Gather (or ask to have
delivered) the following source data:
A screenshot with both the unwanted ad and the page on which the ad is located.
The entire URL address of the page on which the ad is displayed.
Depending on the device:
For desktop users: The link address obtained by right-clicking on the ad (“Copy link address”);
For mobile users: The URL obtained by clicking on the ad (before clicking on it, the user must turn on the airplane mode or turn off data transmission).
The URL of the landing page to which the ad redirects.
How to block the advertiser in Google AdManager?
For the vast majority of publishers, verifying the protections in Google AdManager and adjusting the blocking settings will be the very first step.
Begin with opening the Protections panel from the left-hand side of the main menu:
If you want to exclude the advertiser from the whole inventory, search for the default PROTECTION RULES:
Open the default protection rule and add the address of the landing page intrusive ad redirected you to (point four from the above-mentioned list). You can also block the whole category (check general categories and sensitive categories) :
If you want to block the advertiser only on a certain part of your inventory, you must create a new protection rule. Start with choosing ADD NEW PROTECTION:
Now choose the part of your inventory which you want to have covered by the protection and add the address of the landing page intrusive ad redirected you to (point four from the above-mentioned list):
Save & close the protection settings.
What if all you have is a screenshot of the intrusive creative or nothing at all (so you can only guess the landing page of the ad)? Let’s check how Google AdManager Ad Review Center may help you with blocking unwanted advertisers!
From the main menu bar on the left-hand side, choose Delivery and then Creatives. Enter the Ad Review Center:
From the screenshot (if you have it), cut the actual creative, save it as a new image and upload it to the Ad Review Center:
Block the ad in the search results.
If you don’t have anything, (even the screen) but your inventory is not enormous, you can also click through the Ad Review Center and manually search for the ad. You actually may find more ads you want to block but remember about the impact of ad blocking over the final revenue (extensive blocking decreases the competition and lowers the potential).
How to block the advertiser in Open Bidding?
First and foremost, because this announcement went unnoticed, just let us briefly confirm that Open Bidding is something we previously knew as Exchange Bidding or EBDA.
This part of the setup is composed of different platforms, which raises a huge ad blocking limitation – most probably you won’t be able to block any advertiser by yourself. Our position is quite convenient, as we have hotlines with the SSP account managers. However, we are aware that the independent publisher may end up waiting for a long time in the queue before the requested blockade is up and running.
Here’s what needs to be done if you want to detect the leakage source in Open Bidding:
Get the full list of the SSPs active in your Open Bidding.
Analyze the link address obtained by right-clicking on the ad (step three in the above-mentioned instruction). Quite often there is the name of the advertiser hidden inside and – what’s even better – the name of the platform that emitted the ad. Please do not get confused, sometimes the SSP name may also refer to the advertiser who bought the campaign (SSPs buy campaigns too!).
Try blocking the advertisers in the SSP you assume to be responsible for intrusive ad emission.
If the ads are too annoying for you to wait until the Sell-Side Platforms block them, and you can afford to decrease your results a bit for a couple of days, try the longer (but more controllable) way. Disable EBDA (now Open Bidding) entirely – let’s call that particular moment “day one”.
The intrusive ads are gone shortly after the day one has started? Then EBDA / Open Bidding is the most likely source of the leak. Yet, how to diagnose which platform exactly? Create separate Yield Groups in your Google AdManager, each with only one SSP (used previously in setup).
On day two, enable one of the new, individual Yield Groups… and wait. Observe the creatives shown and verify if the intrusive ads returned.
If you did not detect any violations, on day three, disable the previous Yield Group and enable another one. Observe the situation.
Continue until you enable the Yield Group with the SSP that caused the leak (really, in the vast majority of cases, the improper advertiser will continue to attack your website even after being disabled for a couple of days).
Create a brand new Yield Group without this particular SSP. That way you will increase your results again.
Keep the SSP client service informed about the situation and give them time to double-check the protections until adding them back
Karol Jurga
Chief Revenue Officer
Start using the Yieldbird Platform and take your GAM-based ad management to the next level.